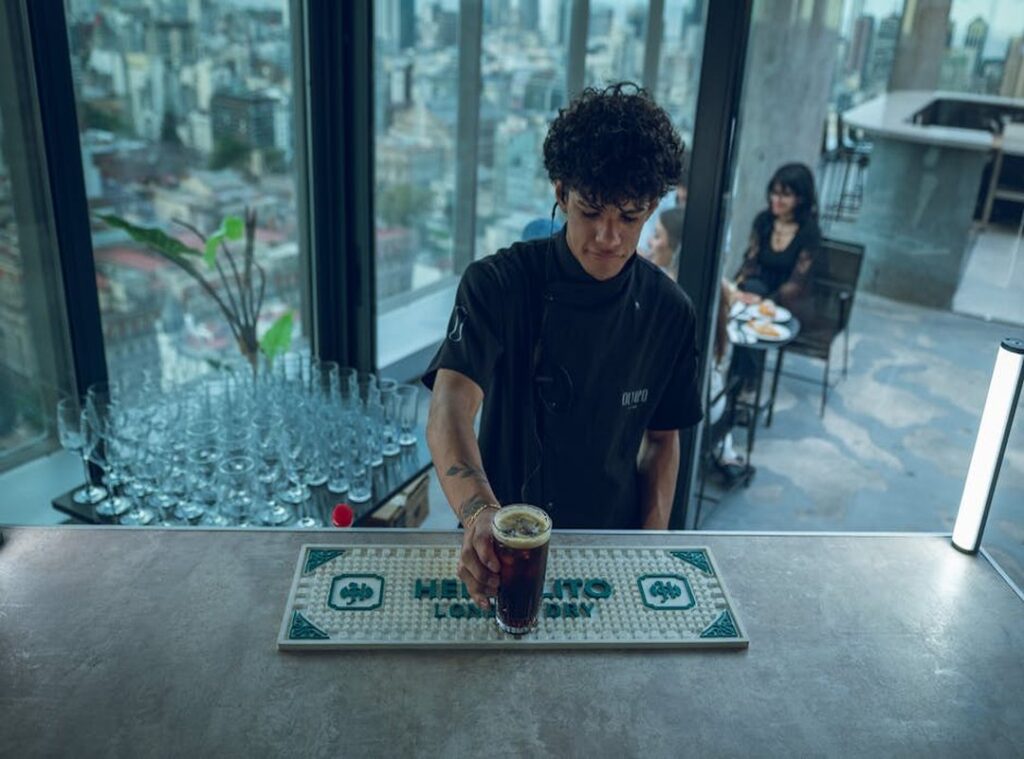
You’ve just been served a beautiful craft cocktail in a cool, dimly lit bar. But the photo you snap on your phone looks dark, blurry, and completely unappealing. Capturing the true look and feel of a drink in a challenging lighting environment is tough.
This guide will provide simple, actionable steps to take stunning, realistic photos of drinks in any bar, using only the smartphone you already have. It’s not about complicated camera gear or fake-looking filters. It’s about mastering a few key techniques to capture authentic images.
These tips are specifically for getting fotos reales de tragos en bares that look professional and delicious.
The #1 Rule: Find the Light, Don’t Create It
Have you ever wondered why your drink photos at the bar never look as good as those on Instagram? The biggest mistake people make is using their phone’s built-in flash. It creates harsh glare, ugly reflections, and kills the bar’s atmosphere.
Instead, become a light hunter. Look for existing light sources, no matter how small. A single candle on the table, the glow from a nearby neon sign, light from a back-bar shelf, or even the soft light from a window if it’s not too late.
These can all work wonders.
Side lighting is your secret weapon. Place the drink so the light hits it from the side. This will create depth, highlight the texture of the glass, and make the liquid glow.
Fotos reales de tragos en bares often use this technique. The next time you get a drink, physically pick it up and move it around the table to see how different light sources interact with it before you even think about taking a picture.
Composition and Angles: Framing Your Drink for Maximum Impact
Let’s talk about the Rule of Thirds. It’s a simple way to make your photos look more interesting. Turn on the grid on your phone camera, and place the drink where the lines intersect.
It makes the shot more dynamic.
The background is key, and a good background tells a story. Think about the bar’s wood grain, a unique coaster, or other out-of-focus bottles.
These elements add context and a sense of place.
CAPS: The 45-degree angle is one of my favorites. It shows the top, garnish, and side of the glass. It’s like you can almost taste the drink just by looking at it.
A straight-on shot makes the drink look heroic and bold. Imagine a tall, icy glass of lemonade on a hot day. You can almost feel the coolness and the zing of the lemon.
The overhead or flat-lay is great for showing multiple drinks or a scene. It’s like looking down at a table full of colorful cocktails. Each one is a different flavor, a different story.
Keep the shot clean. Wipe away any stray drips, move unnecessary napkins or clutter out of the frame, and ensure the glass is free of fingerprints. A clean shot lets the drink shine.
PRO TIP: Use leading lines. The edge of the bar or a straw can draw the viewer’s eye directly to the cocktail. It’s like pointing a finger right at the star of the show. learn more
Fotos reales de tragos en bares can really capture the essence of the moment. The clink of glasses, the murmur of conversation, and the rich aroma of a well-crafted cocktail all come together in a single, vivid image.
Using Your Smartphone’s Hidden Features Like a Pro
Ever taken a photo of a cocktail and felt it just didn’t do it justice? Let me help you out.
First up, the ‘Tap to Focus’ feature. It’s simple: tap directly on the most important part of the image, like the garnish or the rim of the glass. This ensures that part is perfectly sharp.
Next, after tapping to focus, you’ll see a sun icon appear. Slide your finger up or down on this icon to brighten or darken the image before taking the picture. This is crucial in a dark bar where lighting can be tricky.
Portrait Mode is a game-changer if your phone has it. It naturally blurs the background, making the cocktail the star of the show and creating a professional-looking depth of field. Trust me, it makes fotos reales de tragos en bares look stunning.
One big no-no: digital zoom. It degrades image quality and makes photos look pixelated. The better solution is to physically move the phone closer to the drink.
Simple, but effective.
Lastly, use the volume button as a shutter. It reduces camera shake from tapping the screen, giving you a clearer, more stable shot.
Quick Edits That Enhance Reality, Not Fake It
When you’re editing fotos reales de tragos en bares, the goal is to make the photo look more like what your eyes saw in person. This means enhancing the natural elements without overdoing it.
- Brightness/Exposure: Slightly lift the shadows to bring out the details.
- Contrast: Make the colors pop without looking artificial.
- Warmth: Enhance the cozy, amber glow of the bar.
These adjustments in a free app like Snapseed or your phone’s native editor can make a big difference.
Avoid over-saturating colors or using trendy, heavy filters. These can make your photos look fake and take away from the real, authentic feel.
A final tip: use the ‘Sharpen’ tool very subtly. This will make details like condensation on the glass or the texture of a lemon twist stand out, adding that extra touch of realism.
You’re Now Ready to Capture Amazing Drink Photos
Find good light, frame your shot thoughtfully, use your phone’s manual controls, and make subtle edits. These are the key takeaways to elevate your fotos reales de tragos en bares.
You have all the tools and knowledge you need right in your pocket to stop taking disappointing bar photos forever. Your problem is solved, and you can now confidently take photos that look as good as your drinks taste.
Next time you’re out, order a drink and try just two of these tips. You’ll be shocked at the difference it makes.
 Wynovox Bliss is a creative strategist and consumer insights specialist at Zolfin, where she leads the development of user-focused experiences and data-driven shopping solutions. With a sharp eye for emerging trends and a deep understanding of digital behavior, she plays a key role in transforming complex market data into simple, actionable strategies.